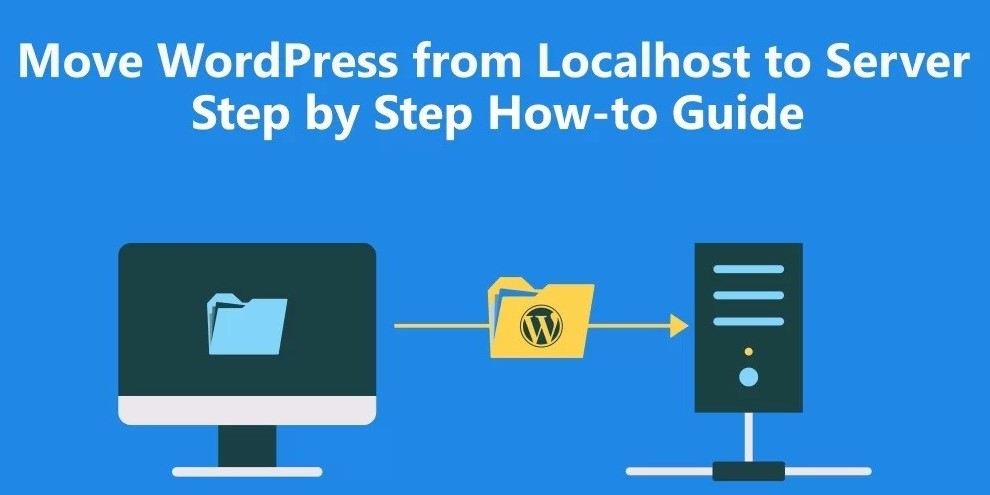
How to Move WordPress from Local Server to Live Site

People want to have a hassle-free and time-efficient method while developing their websites. Those who do not hire WordPress developers must opt to formulate their website locally from their home itself via the help of software like WAMP/MAMP, for Windows and MAC respectively. This helps as you can work with the speed of your computer’s RAM and ROM itself, rather than working with the speed that the internet has to offer. Once you have created your website locally, you can use a WordPress migration plugin to migrate to a live website.
Before you begin reading the step-by-step guide for installing and using the plugin, there are 4 things that you must ensure are in place. You must be the administered user of a WordPress website on your localhost system, you must have decided a domain name and you must have opted for the services of a web hosting platform whether its fully managed WordPress hosting, shared hosting, vps or dedicated server whichever suits your business website. Lastly, make sure your own an FTP (File Transfer Protocol) account and have sufficient knowledge on how to use it. This lets you easily upload all content from your local server to your live site. Once you have completed these prerequisites, move on to the following steps –
Step 1. –
Head to your dashboard on your WordPress application (on your local site). Search for a plugin known as the Duplicator plugin. You can alternatively even opt for Local by Flywheel, Desktop Server or Laragon. Although, keep in mind that this tutorial is going to focus on the Duplicator plugin.
Once you have installed and activated the Duplicator plugin, head to the Packages page and click on Create New followed by Next. Duplicator now begins to build a package that consists of all content curated during your local WordPress website development process. Some specific tests will be automatically run to check for file sizes, additional add-ons, and database cleanliness. Once all lines show a green button with the term ‘Good’, then you can click on Build. Leave the tab open till the process is complete and a One-Click Download option appears. Clicking on this option will download an archive of all your plugins, widgets, content and backup of your local WordPress database, along with a script that automates the migration to a live website.
Step 2. –
That you are making a live website, you will need a new Database. Head to your web hosting account’s admin page and get to the cPanel dashboard. Once you find the Databases section, click on the MySQL Databases icon. On a new screen, you will be prompted to name this new database. Once cPanel has created this database, you scroll down to the MySQL Users section and insert a username and password. Once completed, click on Create a User and scroll down to the Add a User to a Database tab. Select the database and user you created and click on Add.
Now, your new database can be used with your WordPress website. Make notes containing your database name, username, and password, as this information will be needed later.
Step 3. –
It is time to upload the files downloaded in step 1 from the local server to a live hosting website. Make sure you have a connection from your FTP client to your hosting site. Another factor to ensure is that the root directory is empty. Head to the following path — /home/public_html/folder and delete any WordPress files, if at all.
Now, upload the script that helps in migration and also upload the archive files from your Duplicator plugin to the root directory mentioned above.
Step 4 –
Now that you have successfully uploaded your migration files, open the following URL in your browser – http://domainname.com/installer.php
This will prompt the arrival of the Duplicator migration wizard. The 4 steps you follow now will make you laugh about the fact that you thought you will require the need to hire WordPress Developers or you can also hire a freelance web developer to move WordPress from local server to live site.
1. in this wizard will be ‘Deployment’ and will check for the archive file followed by a validation test. Check the terms and conditions box and click on Next.
2. in this wizard will be ‘Install Database’. Mention the host as localhost and insert accurate information into the database, username, and password dialog boxes. The Action in the step will be Connect and Remove all data.
3. in this wizard is ‘Update Data’. The Duplicator plugin automatically imports your WordPress backup archive into the new database and updates the URL of your live site, along with its path.
4. in this wizard will indicate the completion of the migration process. Click on the Admin Login button and arrive at the dashboard of your now live WordPress website.
This entire process comes with zero costs, easy steps, and no need to keep the migration plugin downloaded. Also, there’s no limitation on the data a website contains and backups can be installed in both sites, local and live.

